Building A Jekyll Blog On S3
Jekyll is a Ruby based tool for generating static websites and blogs without the need for database using Markdown files or HTML. It's useful for when working within the constraints of a platform that only allows for basic static files. Many use it to create blogs on Github Pages. Static files also mean fast load times and eliminate potential complexities of server side software. In my case I said goodbye to Wordpress and used Jekyll to host this blog directly on S3.
-
$ gem install jekyll
$ jekyll new oursite
_config.yml  #Site settings and global variables
_posts       #Holds all of your blog posts
404.html     #Your error page
about.md     #An example page. Renders as about.html
Gemfile      #Ruby configuration file
index.html   #Your default page
Step 1: Basic Jekyll Installation
If you don't already have Jekyll installed in your command line, begin by installing it.
Navigate to the directory of your choice and use jekyll new to set up a new Jekyll installation.
Once you do, several new files will be created. View their descriptions on the left.
-
$ jekyll serve
Step 2: Run a local server
Before we go any further we want to make sure our site loads as expected. Still in your Jekyll site directory run jekyll serve to start a local http server
Navigate to http://localhost:4000 in your web browser and you should see your new Jekyll page.
-
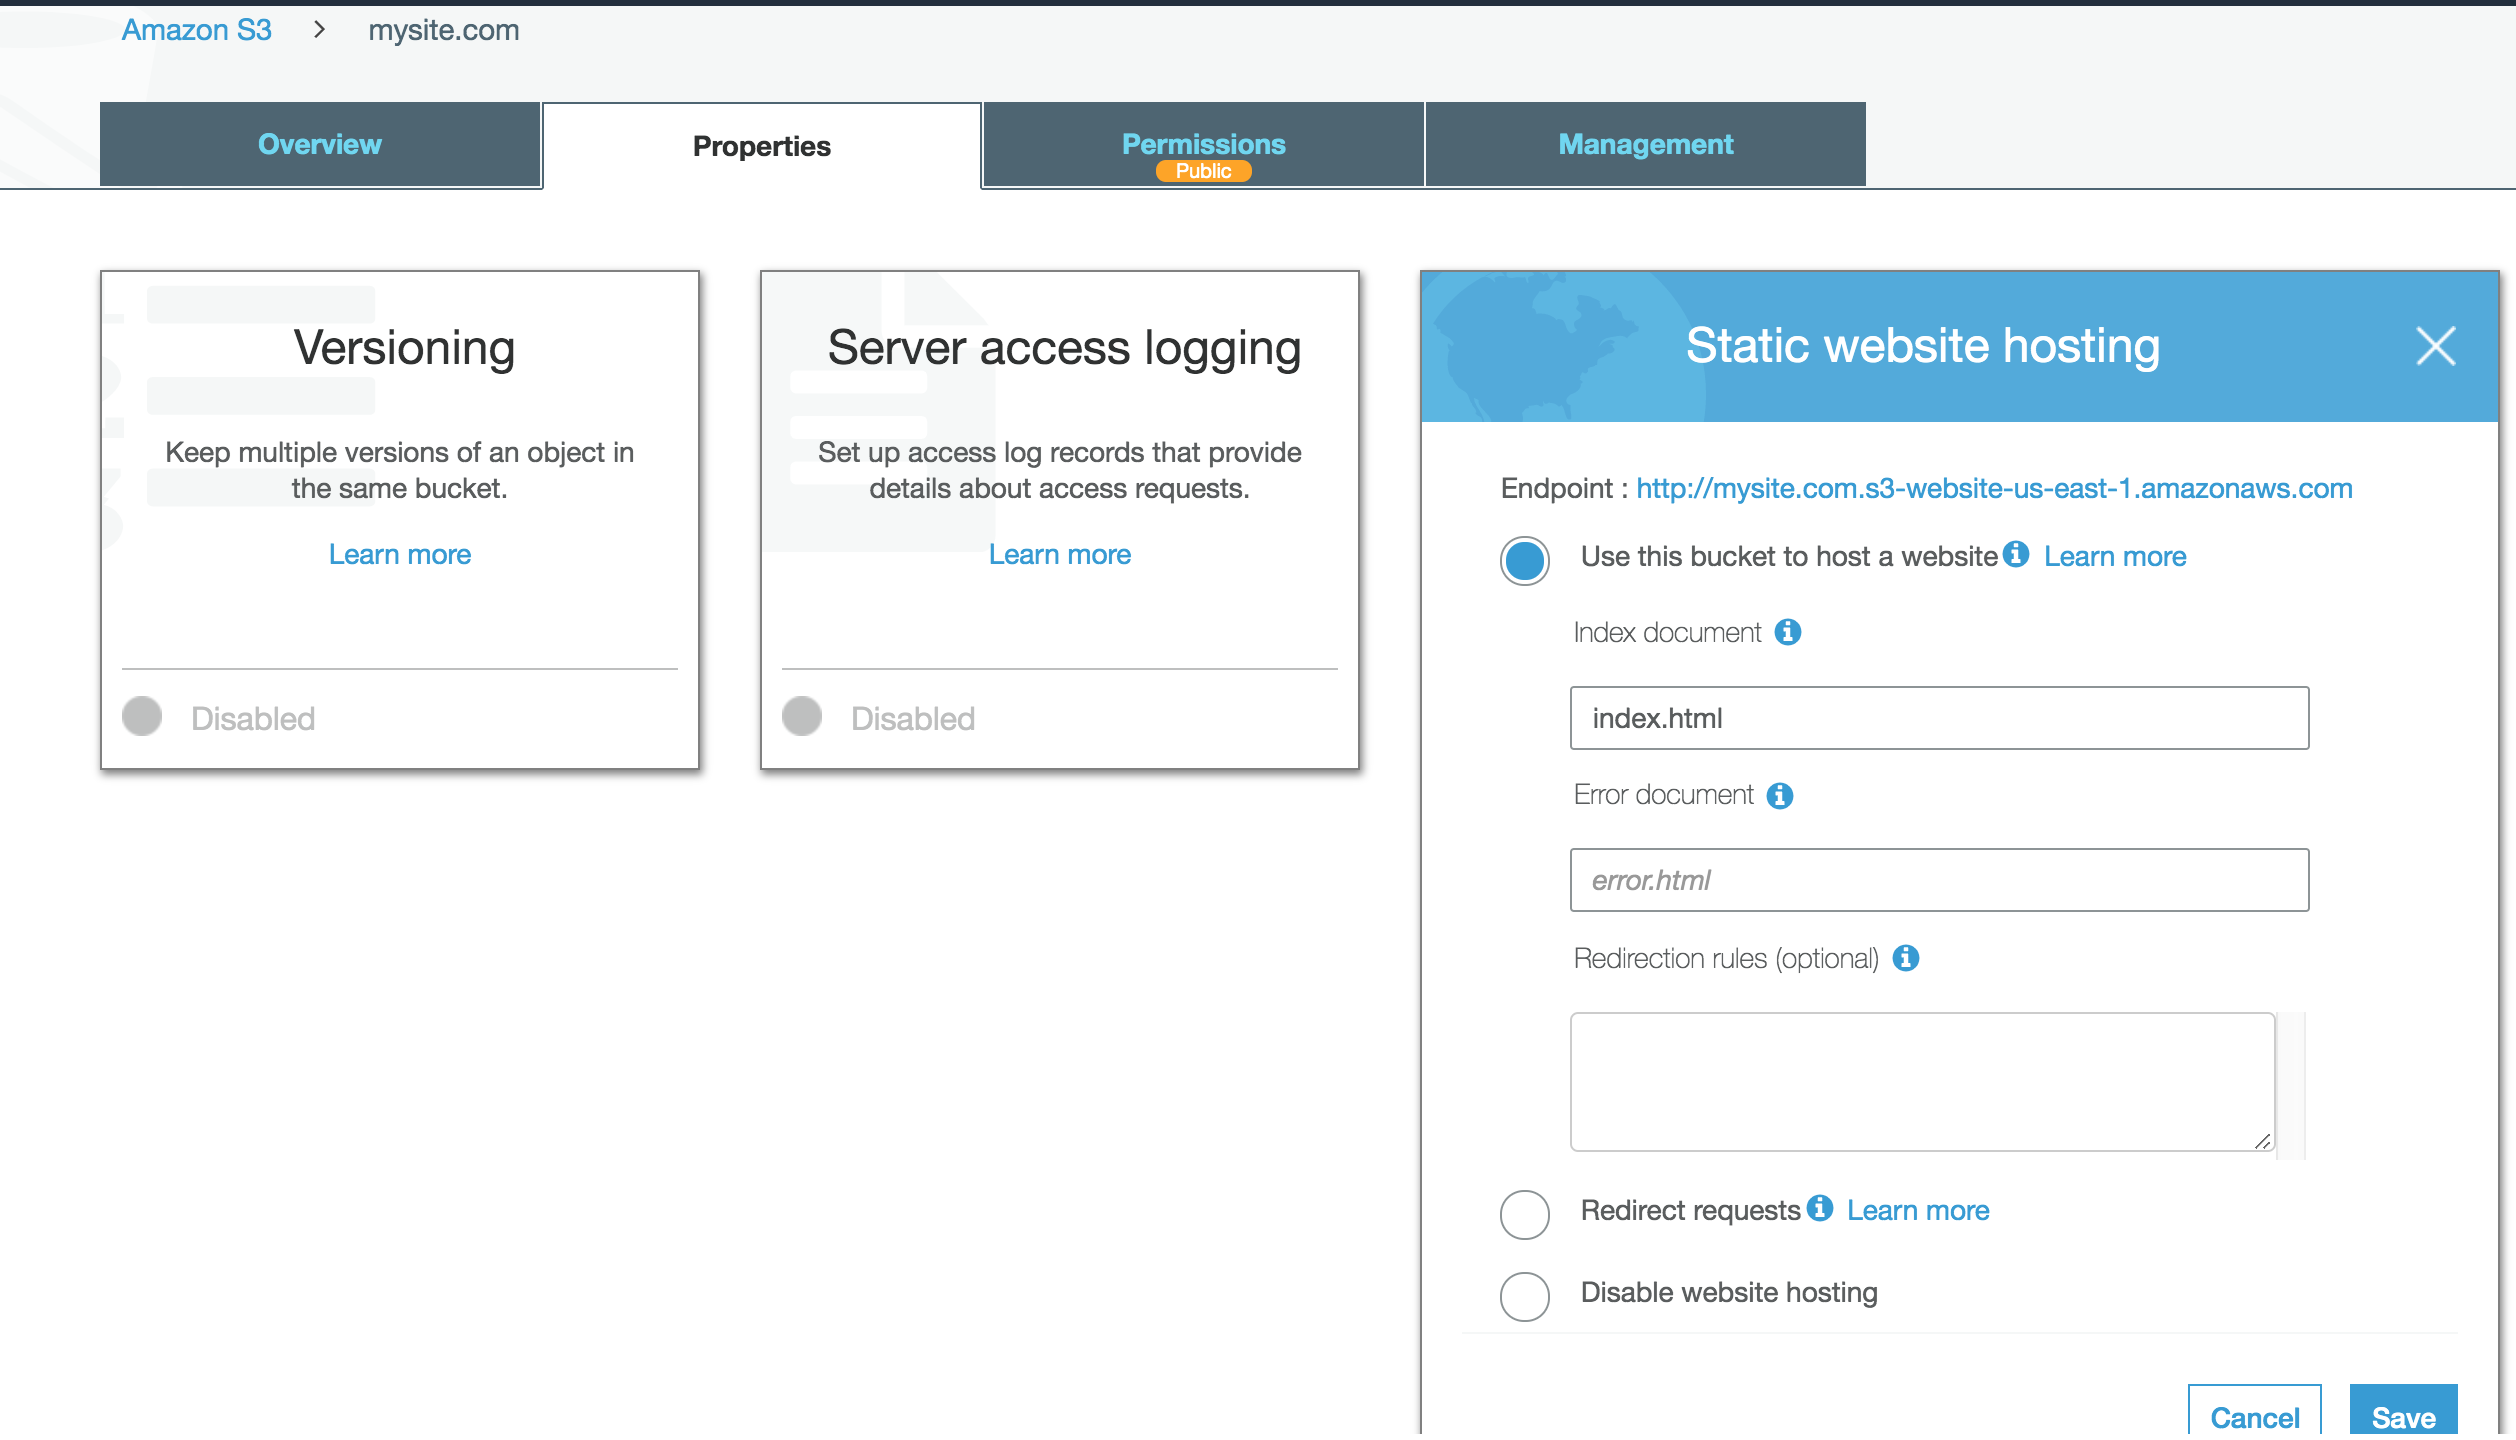
Step 3: S3 Configuration
We need to configure our S3 bucket to for static website hosting. If you're already familiar with the process, go to the AWS console, and access your bucket. Select Properties and enable website hosting. Also make sure your bucket has appropriate public read policy. You can follow the official AWS instructions for a full walkthrough.
-
$ gem install s3_website
$ gem s3_website cfg create
# Contents of s3_website.yml
s3_id: Access Key ID
s3_secret: Secret Access Key
s3_bucket: oursite.com
Step 4: s3_website
Now that we have a valid S3 bucket and Jekyll website, we can tie the two together with a 3rd party plugin called s3_website. Install it and run s3_website cfg create to generate a new s3_website.yml configuration file.
s3_website.yml contains only three executable lines: Access Key ID & Secret Access Key for your user, and the S3 bucket name.
Note: The configuration file will require API credentials for an AWS account. It's highly recommended that you use the IAM console to create a limited scope user which at least has API permissions to the S3 and CloudFront services.
-
echo "Building Jekyll Site"
jekyll build
echo "Deploying to S3 🚀"
s3_website push
$ sh deploy.sh
Step 4: Build & Run script
We'll configure a shell script to build and deploy our website to S3. Create a file called deploy.sh and paste in the commands to the left.
Run your script with sh deploy.sh.
Further reading:
https://jekyllrb.com/docs/step-by-step/01-setup/https://github.com/laurilehmijoki/s3_website


